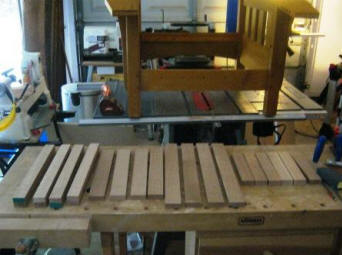
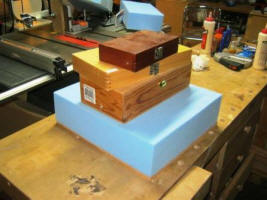
Here, I've dimensioned and prepared all the parts for the footstool. Building the footstool is somewhat easier than the chair, being smaller and having fewer pieces. It took me almost a year to build the chair, working a few hours at a time mostly on weekends and after getting home from work. The footstool was built in two days.
RICK BUILDS A MORRIS CHAIR
PART V: Building the Footstool and Finishing the Chair!
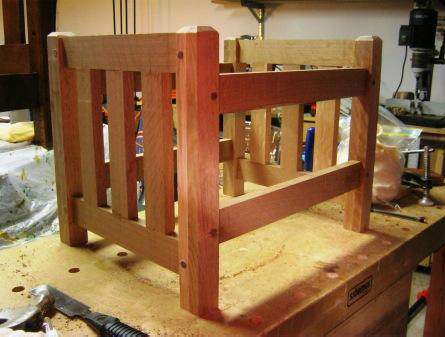
As I did with the chair, I constructed the footstool using entirely pinned mortise and tenon joints. There isn't an ounce of metal in this entire project--no screws, no nails, no brads. Both the chair and the footstool are all wood.
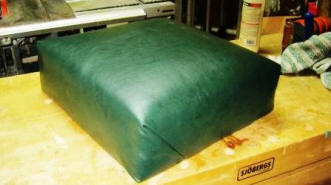
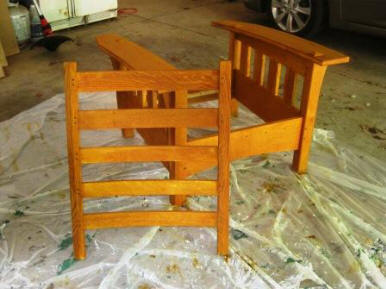
The process for building the footstool was exactly the same as for the chair, so I'll spare you the details, and just show the completed stool.

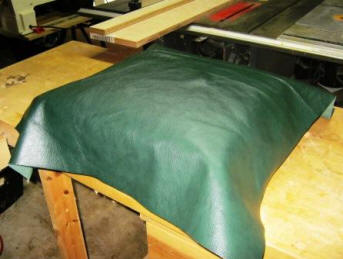
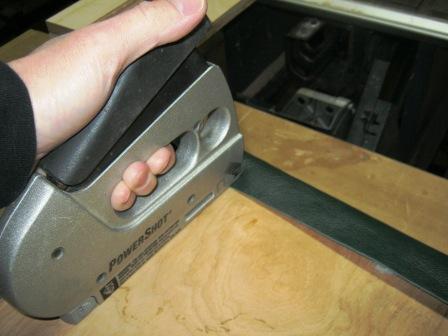
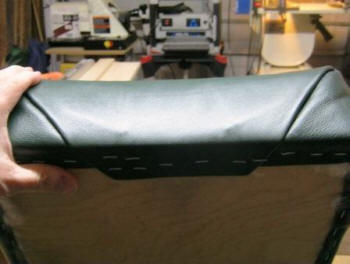
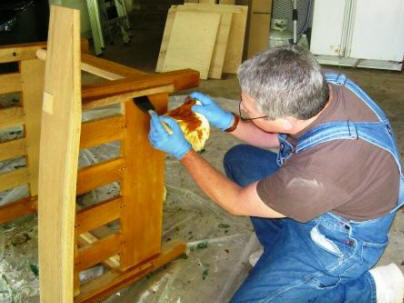
Here, I've folded the leather around the backer board, and using a stapler I anchor it in place.

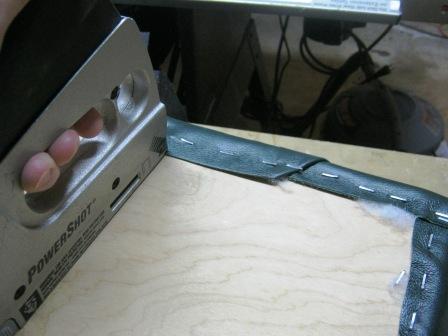
Then I use my fingers to stuff any leather poking out under the center fold, and tighten the whole she-bang before doing the final stapling.
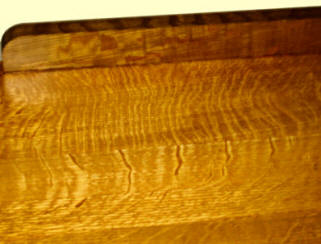
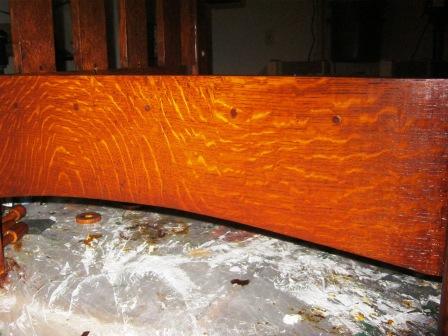
Nobody is exactly certain where the ammonia fuming process started, but most theories point to the use of oak for framing horse barns on eighteenth and nineteenth century farms. Over time, because of the ammonia in the atmosphere arising from horse and cow urine, the wood would darken and the quartersawn ray fleck patterns would be accentuated. This is because the ammonia interacts with the tannic acids in the wood, which occurs in different levels in the flecked and non-flecked portions of the wood. The picture to the left is of a piece of oak that has been ammonia fumed.
Gus Stickley and his brothers knew about this phenomenon, and developed a process to artificially fume their wood using anydrous ammonia in an enclosed space.
A piece of advice: NEVER NEVER TRY THIS AT HOME!! Sure, the wood darkened. It looked great. On the other hand, I nearly lost the ability to appreciate its appearance when I opened the door to the refrigerator after several days. I wore a respirator, but forgot to protect my eyes. Ammonia fumes can easily cloud the cornea of your eye and render you blind. I felt my eyes stinging, and I ran from the garage before any serious harm was done. If I had not worn a respirator, I could easily have incurred extreme corrosive damage to my lungs. Plus it stunk to high heaven and it took weeks to get the smell out of the garage completely.
Please let me state this again: FUMING WITH ANHYDROUS AMMONIA IS VERY DANGEROUS, AND POTENTIALLY DEADLY!!! I don't do it anymore. You shouldn't either.
The question is, how can we get that same ammonia fumed look in our Arts and Crafts oak furniture, without actually using ammonia?
There are a couple of ways. One is to use an ammonia solution and wipe it onto the wood over and over, for several days or weeks. The liquid ammonia will interact with the wood as well as the fumes will. Problem? It still stinks, and you're still dealing with some of the potential health risks of concentrated ammonia.
Another method, and the one I used on this project, is to use a combination of dyes and stains to mimic the traditional Arts and Crafts ammonia-fumed finish.
I've had a lot of success with General Finishes' dyes, stains, and topcoats, and I use them a lot.
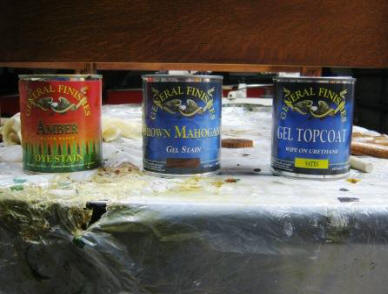
Here are the three components I used on the Morris chair project. Amber water-based dye, brown mahogany gel stain, and a clear satin gel poly topcoat.
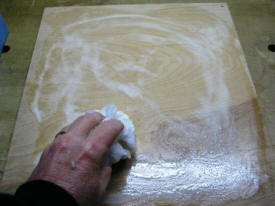
Being water-based, the dye does raise the grain a little bit, and leave the wood a little feathered. So, after it dries I go over the wood with some very fine grained (800 grit) sandpaper to level the wood. Below is a pic of the chair after dyeing.

Also, gel stain contains polyester acrylic ingredients which cure as the stain dries. The traditional finish for furniture is varnish, shellac, or lacquer. Some people think poly is a cheat and--being petroleum-based chemicals--not that great for the wood. The fact is that poly cures harder and more durable than most other finishes. It's a 21st century finish, and we live in that century, so I use it for furniture.
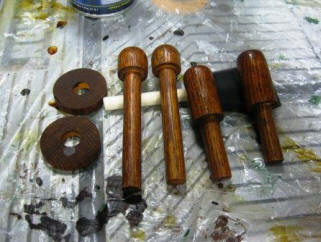
Yeah, that's right. I turned wooden washers. Everything on this chair is hand-fabricated.
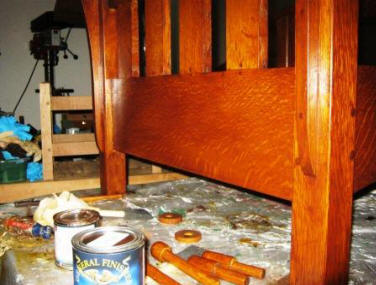
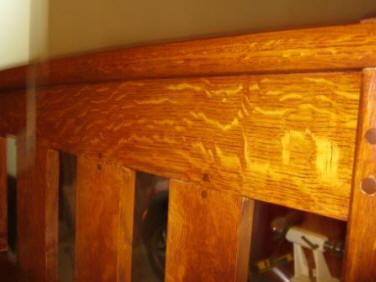
After two or three coats of the poly coat (depending on the use the part was intended to get), I got the following results. Compare this finish to the traditional ammonia fumed finish Gus Stickley used a hundred years ago. I think it stands up pretty well.
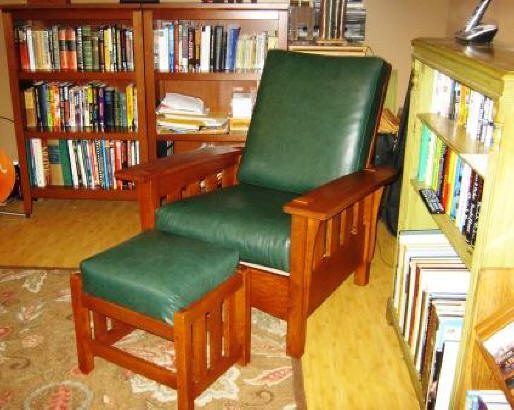
I can check one major project off my woodworking bucket list, and I still have all my templates and forms available if one of the kids or (someday, after I retire) a customer wants one of his/her own and I decide to make another one.
I installed the chair in my home office, where I write my books and short stories, and keep my personal library (and a small HDTV for watching football and races). I'm looking forward to spending a lot of time this winter lounging and reading in complete Arts and Crafts comfort!